Photography guide
How to take real estate photos with an iPhone
No camera, no problem. Here are the settings, the one piece of gear worth buying, a shot list for every room, and how to fix the three shots a phone camera usually gets wrong.
By the Stagey team · Updated 28 September 2026 · 7 min read
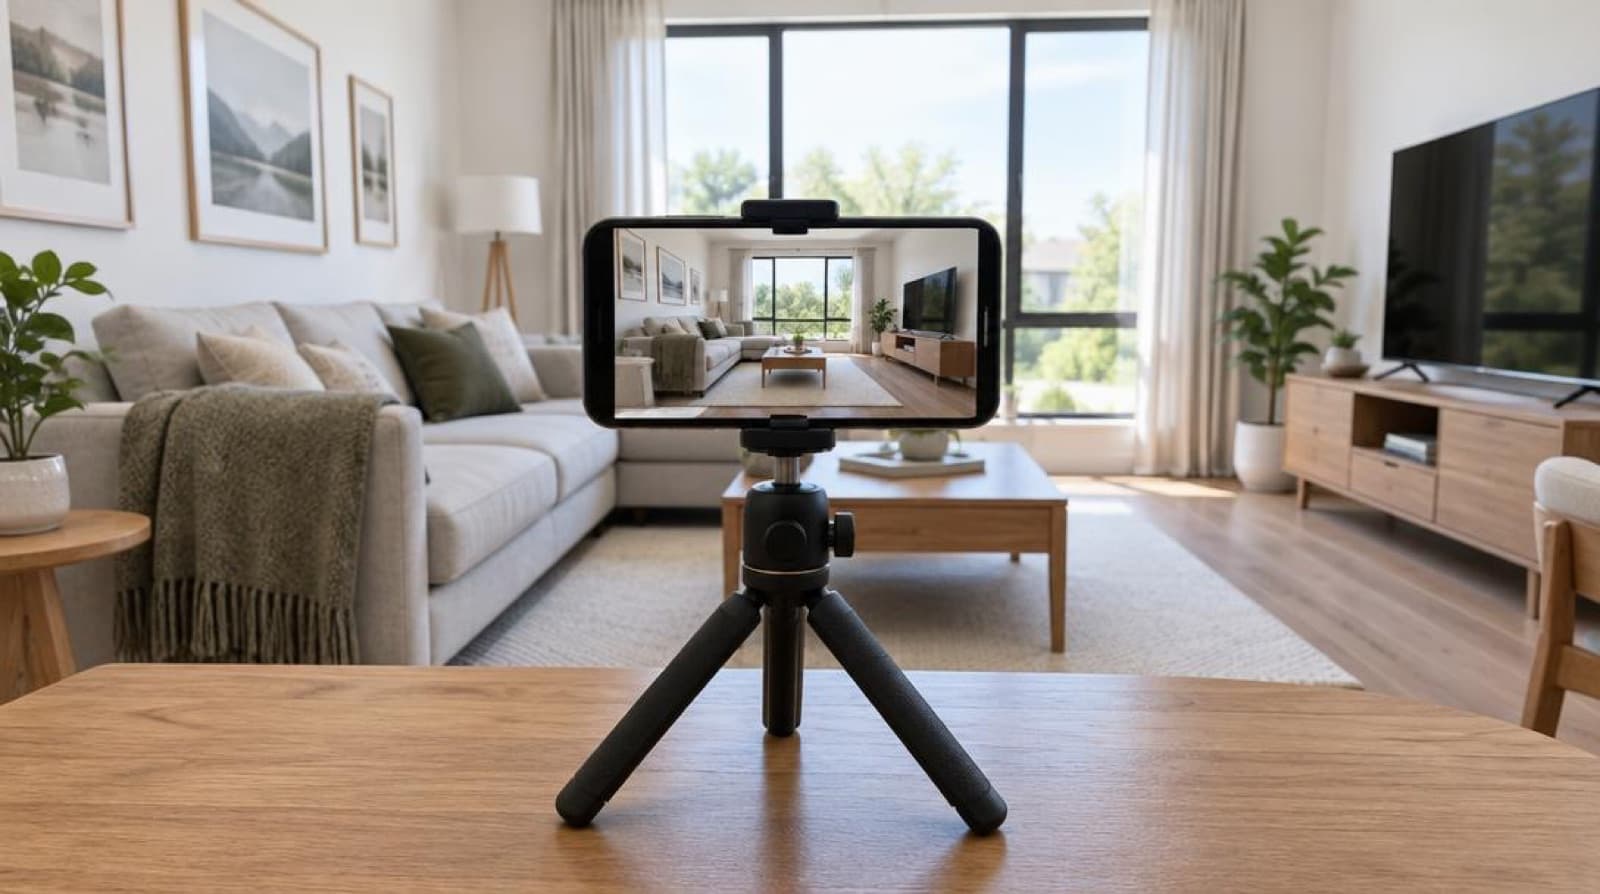
iPhone camera settings for real estate photos
The built-in camera app is all you need: real estate photography iPhone style takes no separate camera and no lens attachment. Before you shoot a single room, set these once and they stay set for the whole listing.
| Setting | What to use | Why |
|---|---|---|
| Lens | 1x for most rooms; 0.5x ultra-wide only in small rooms | The 0.5x lens stretches anything near the frame edge and can make a room look bigger than it is |
| Grid | On, in Settings > Camera > Grid | Lines up door frames and the horizon so verticals stay straight |
| HDR | On (Smart HDR, automatic) | Balances a bright window against a darker room in the same frame |
| Exposure | Tap to focus, then drag down to lock it | Stops a bright window from making the rest of the room too dark |
| Live Photos | Off | Smaller files, and it can soften a shot taken from a tripod |
| Format | Most Compatible (JPEG), in Settings > Camera > Formats | Some portals and MLS uploaders don't accept HEIC |
The one piece of gear worth buying
A small tabletop or floor tripod is the single upgrade that changes how a set of listing photos looks. It keeps every room shot at the same eyeline and perfectly level, which is what makes a gallery of ten photos read as one consistent shoot instead of ten different ones. It also means you can lock the exposure and frame the shot carefully, instead of holding the phone one-handed and hoping the horizon is straight.
A phone clip or a small ball head that fits your phone is all you need. You're not buying lighting or lenses, just something steady to stand the phone on.
A shot list for every room
Work through the same list every time so nothing gets missed on the walkthrough.
- Every room: 2 corner shotsShoot from opposite corners so buyers see the whole room, not one wall
- Exterior: straight-on front elevationSquare to the house, not at an angle, with the full roofline in frame
- Kitchen: one wide shotFrom the doorway, showing the counters, appliances and as much of the layout as fits
- Bathroom: one wide shotFrom the doorway, angled to avoid catching yourself in the mirror
Light and timing
Shoot in daylight with the blinds and curtains open, and turn on every interior light even during the day: it fills in shadows the window light leaves behind. Midday sun through a window can blow out the view, so if a room faces hard direct sun, come back an hour or two later when the light has softened. Overcast days are easier to shoot in evenly, even if the sky itself won't make the photo.
Angles: chest height, straight verticals
The two habits that separate a phone photo that looks professional from one that doesn't.
- 1
Set up the camera
Grid on, HDR on, Live Photos off, phone on the tripod, 1x lens unless the room is genuinely tight. - 2
Shoot from chest height
Set the tripod so the lens sits roughly chest height, level with the horizon, not angled up at the ceiling or down at the floor. - 3
Keep verticals straight
Use the grid lines to line up door frames and walls. If they lean inward at the top, step back and level the phone instead of tilting it up. - 4
Work the shot list, room by room
Two corners per room, then the exterior, kitchen and bathroom, in the same order every time.
The 3 shots that usually fail, and the fix
Good settings and a tripod solve most problems. These three keep coming back whatever you do, because they're about the weather or the room itself, not the camera.
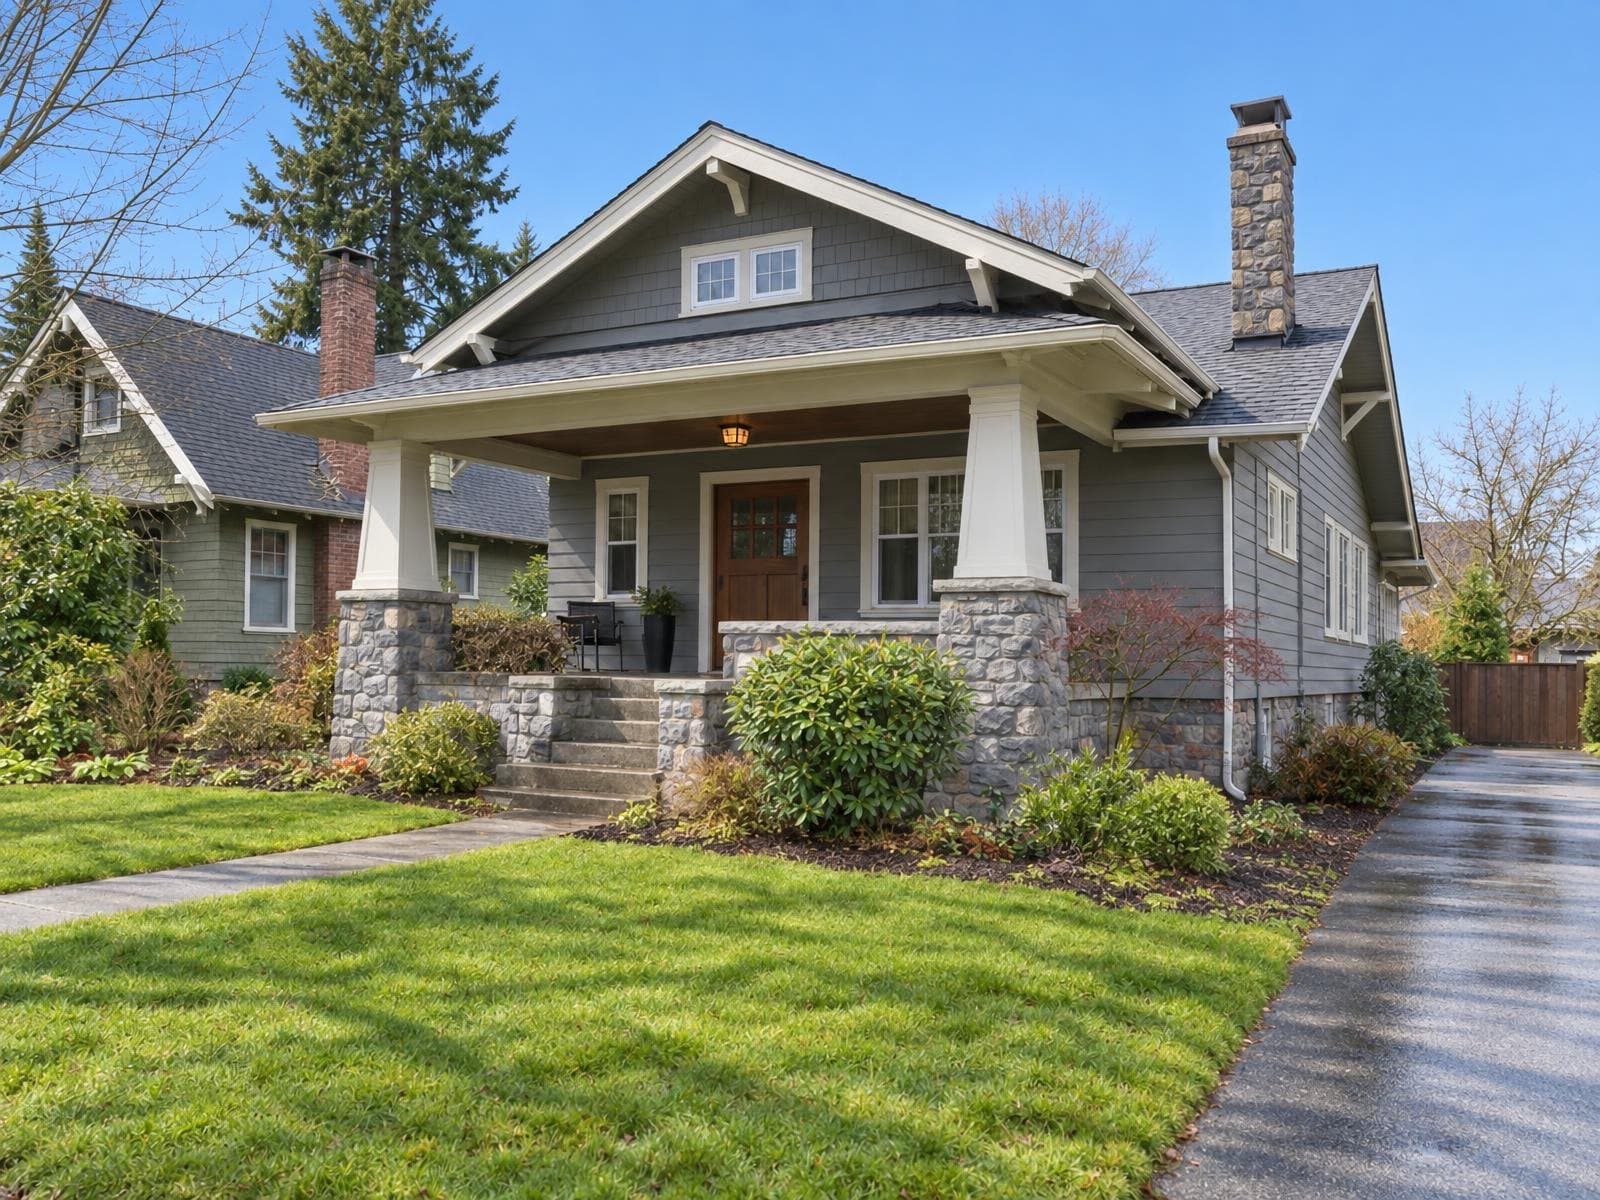
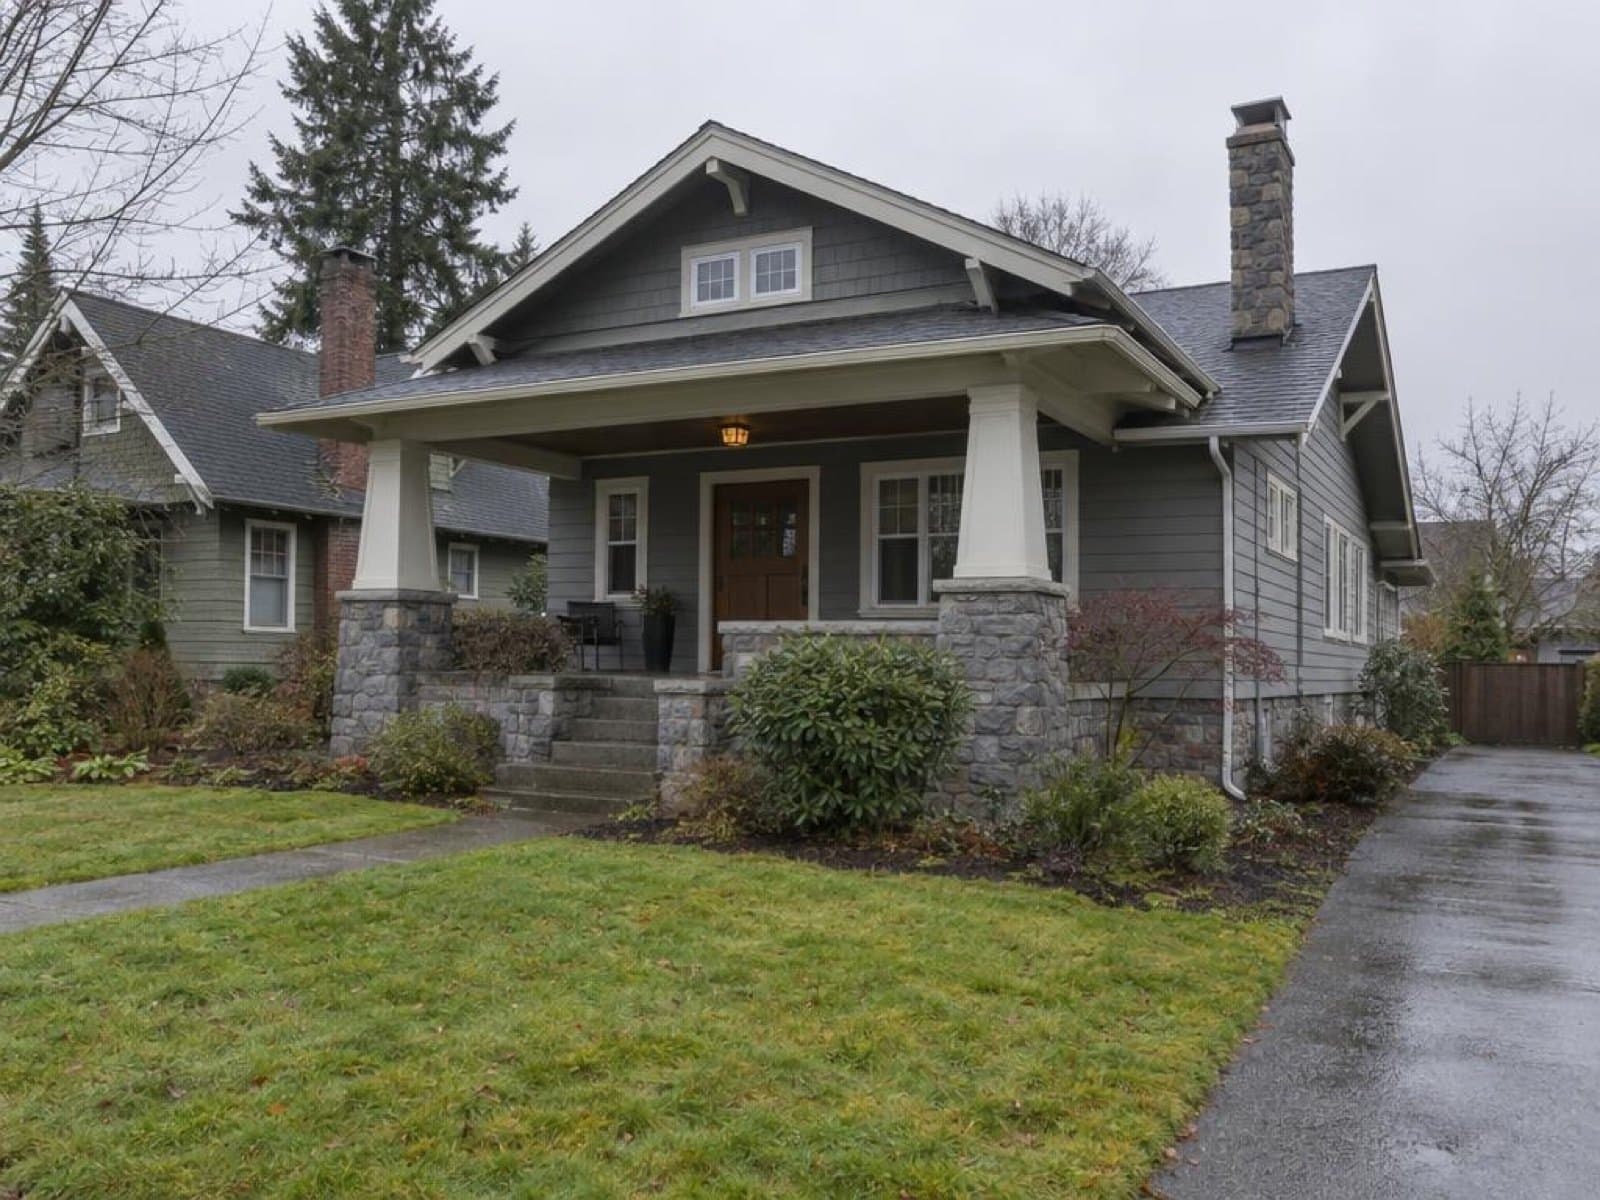
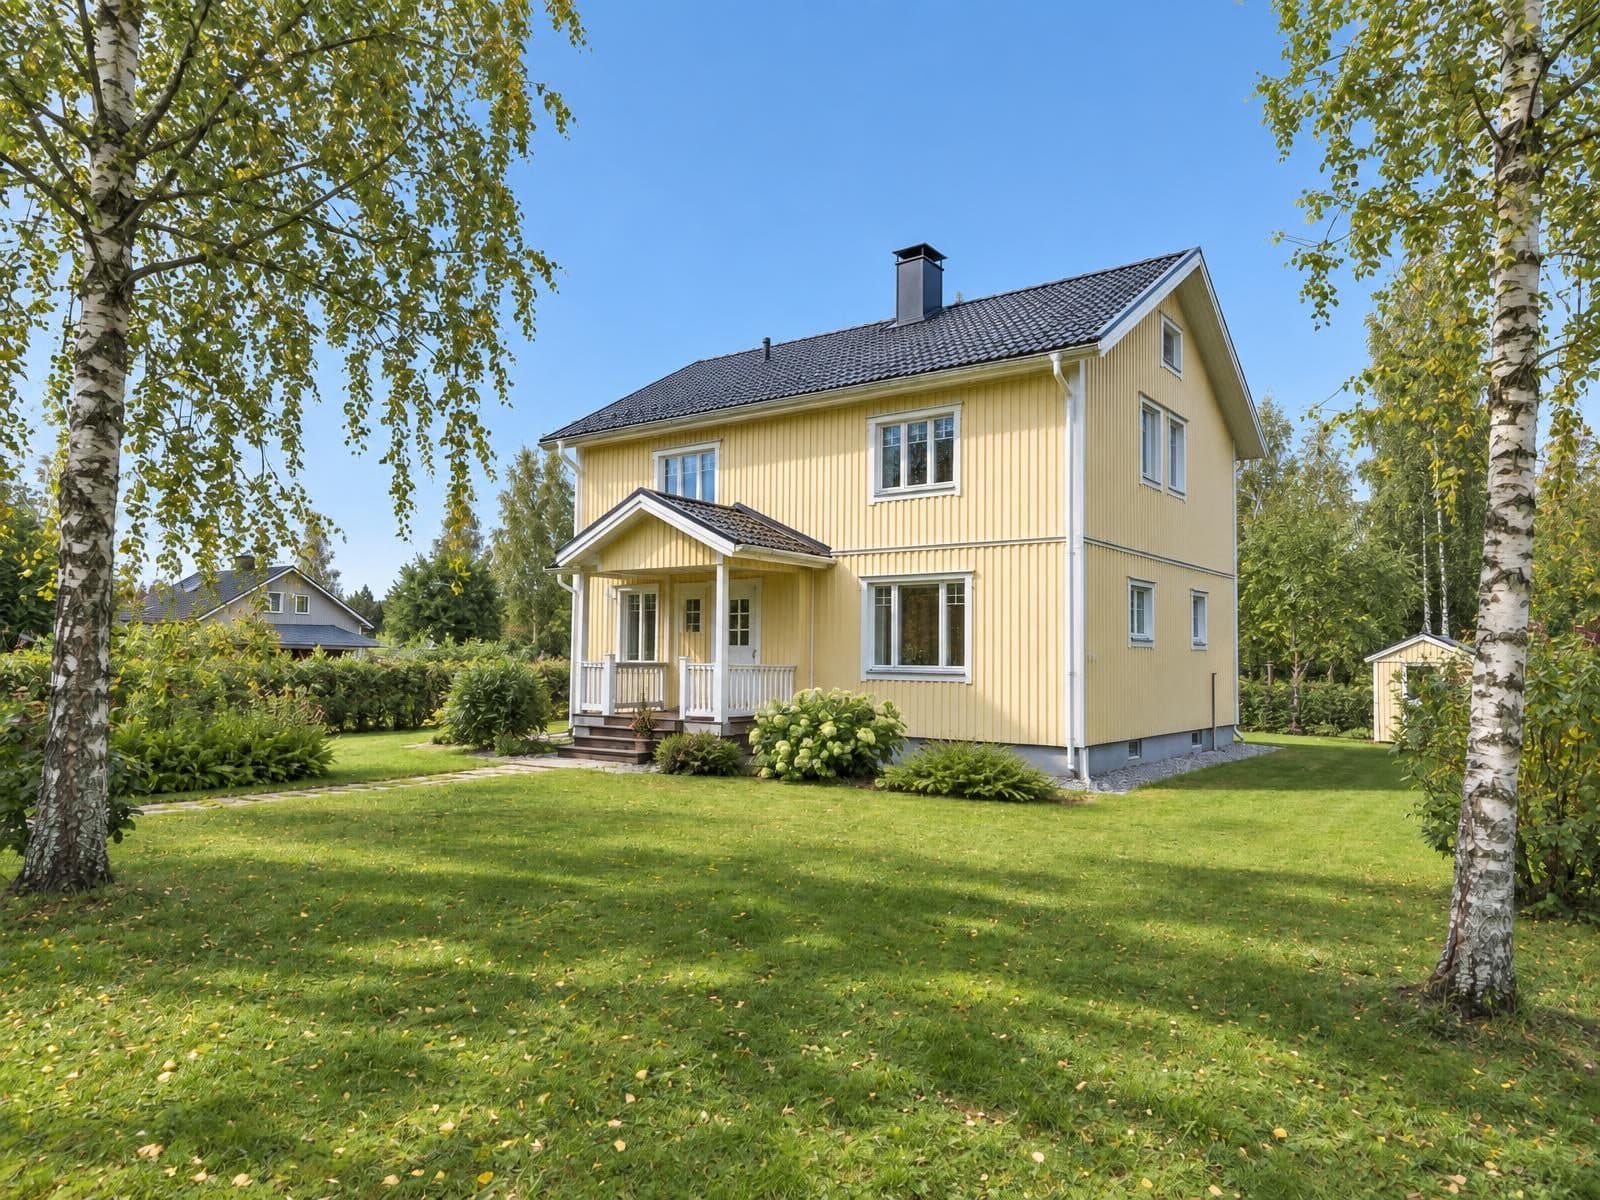
1. A flat, grey sky
An overcast day is the easiest weather to shoot in, but the sky itself rarely looks good in the listing. Sky Fix replaces it and matches the light on the house.
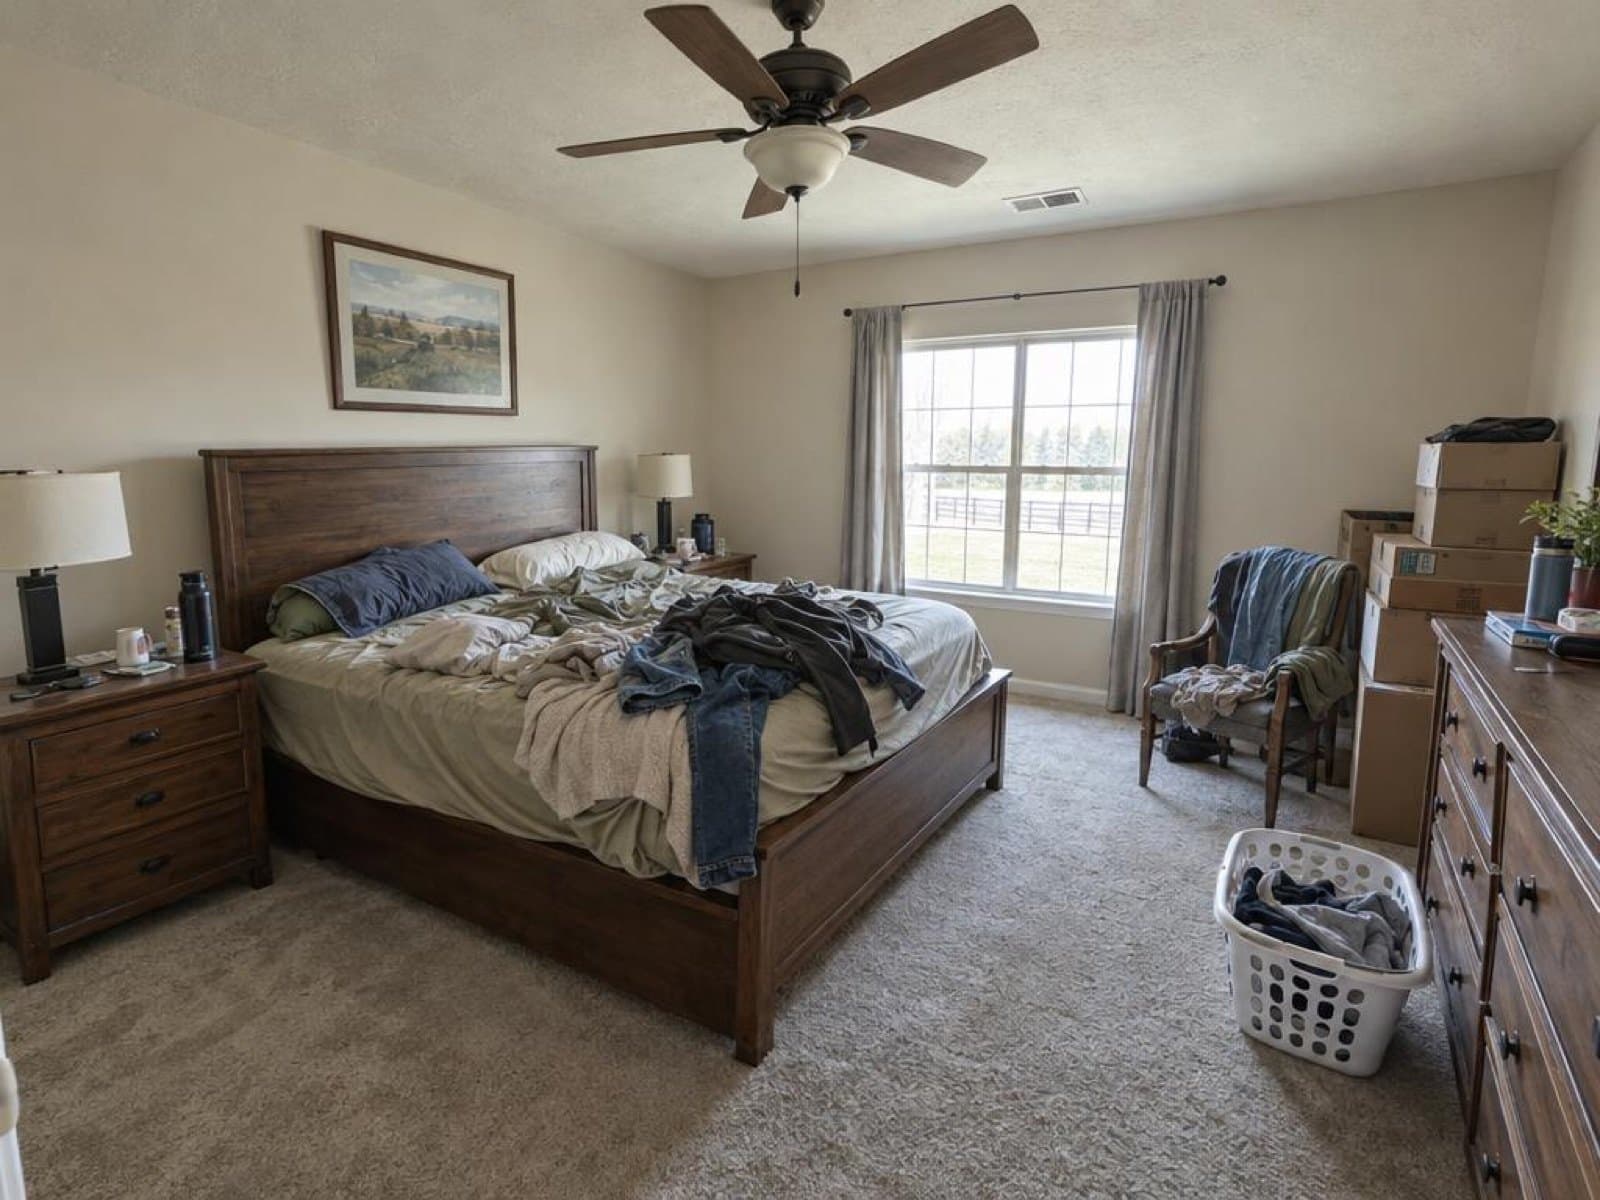
2. A cluttered room
Clothes on a chair, a backpack, shoes by the door: normal life, but not what buyers should see. Remove Clutter clears it without touching anything else in the room.
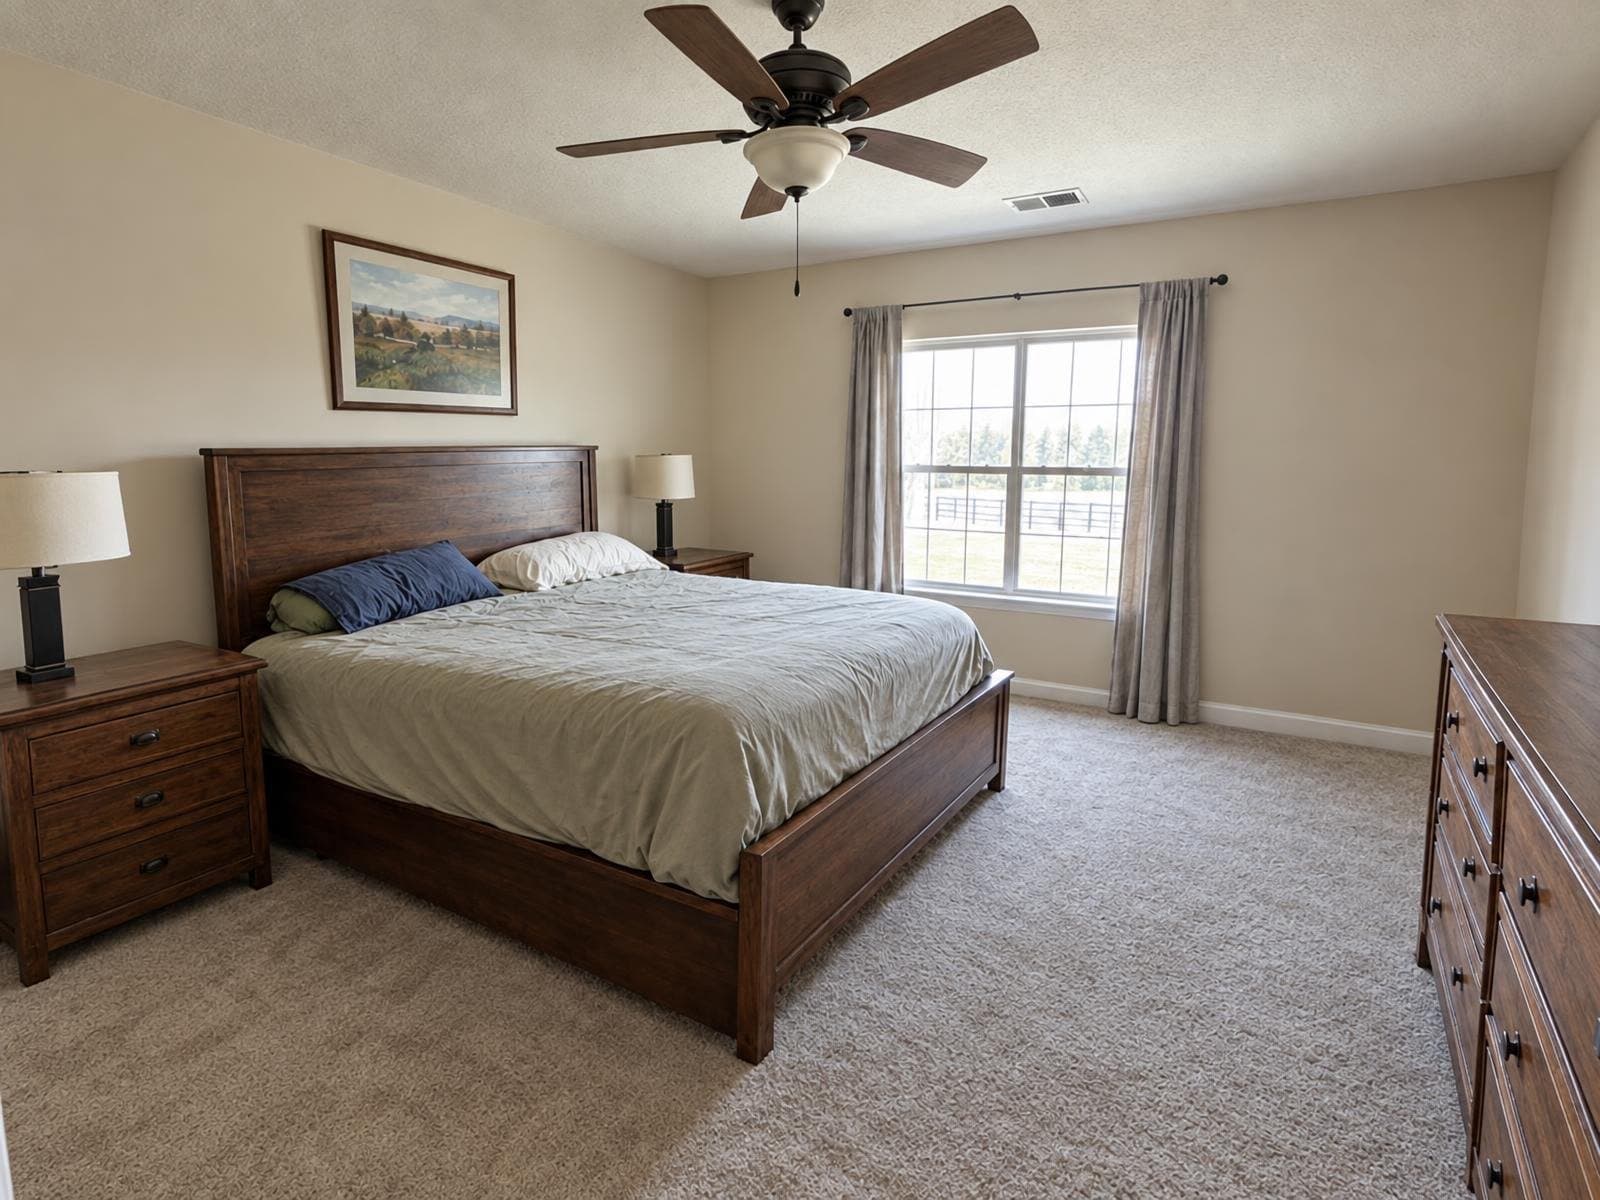
3. An empty room
A vacant listing photographs as bare walls and floor, which makes it hard for buyers to picture living there. Virtual staging furnishes the room in a style that matches the space.
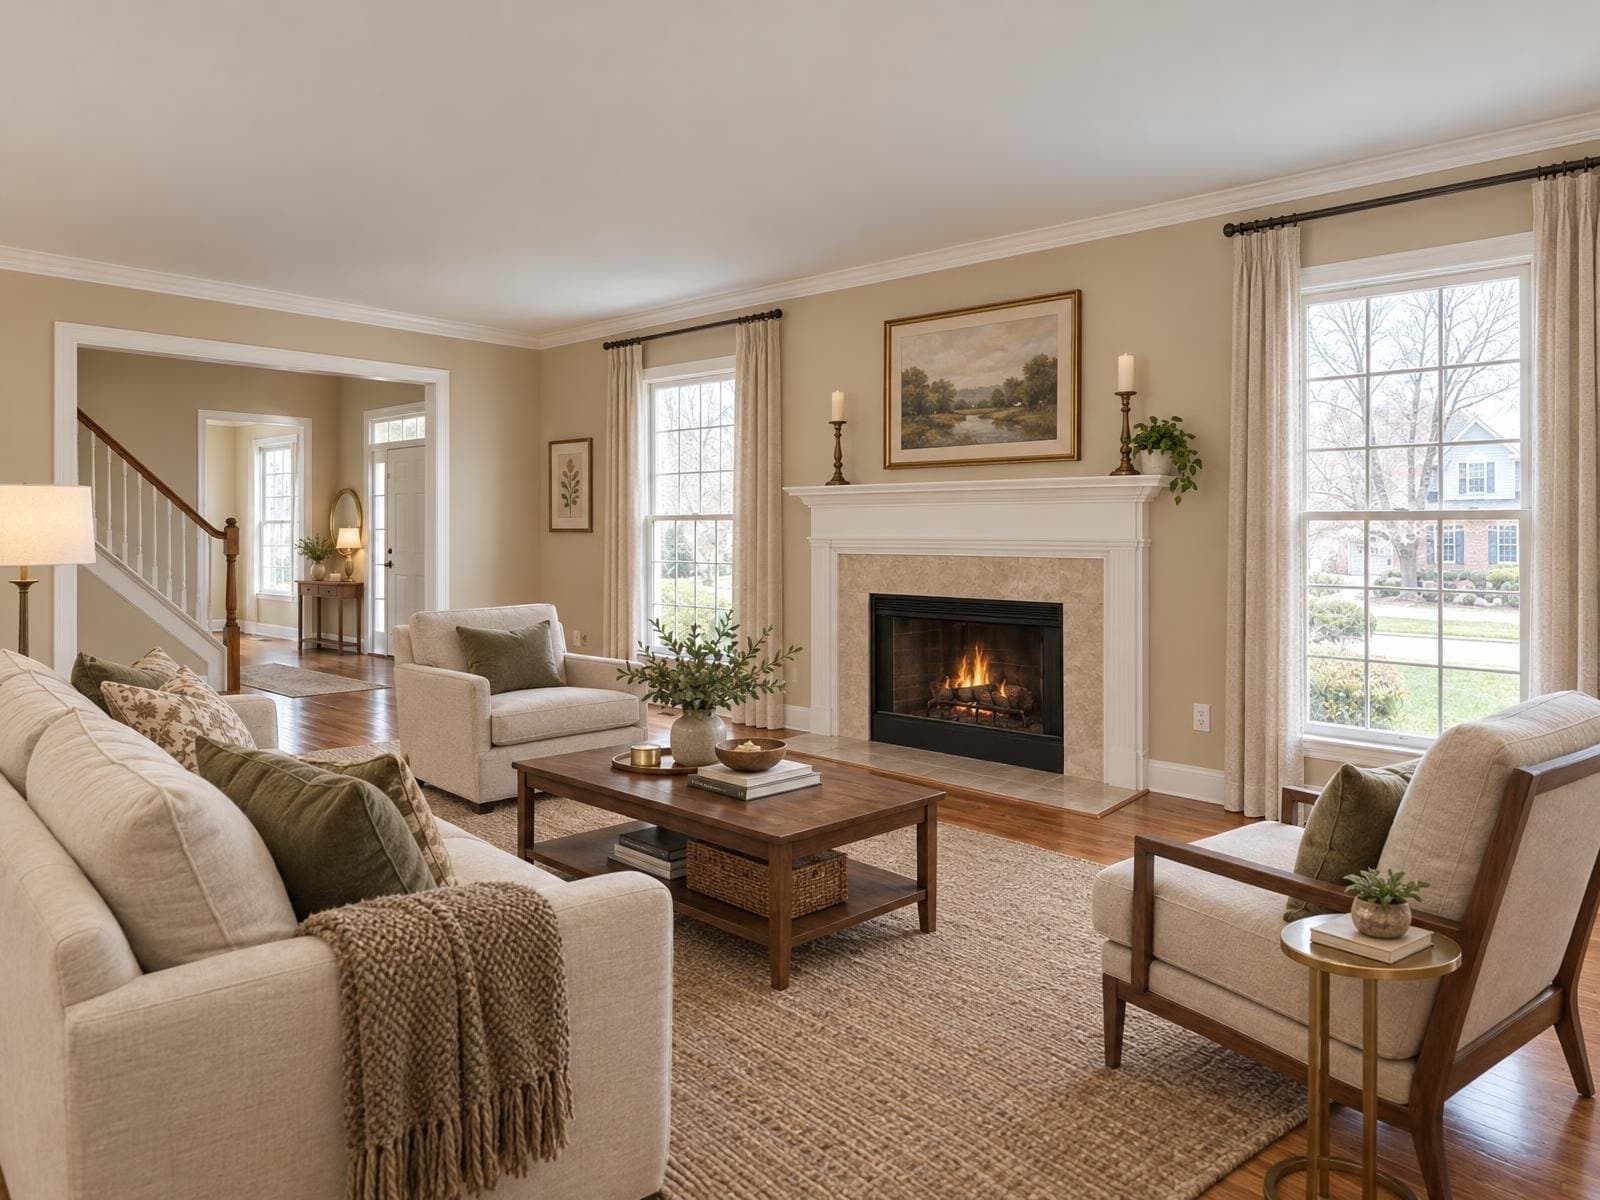
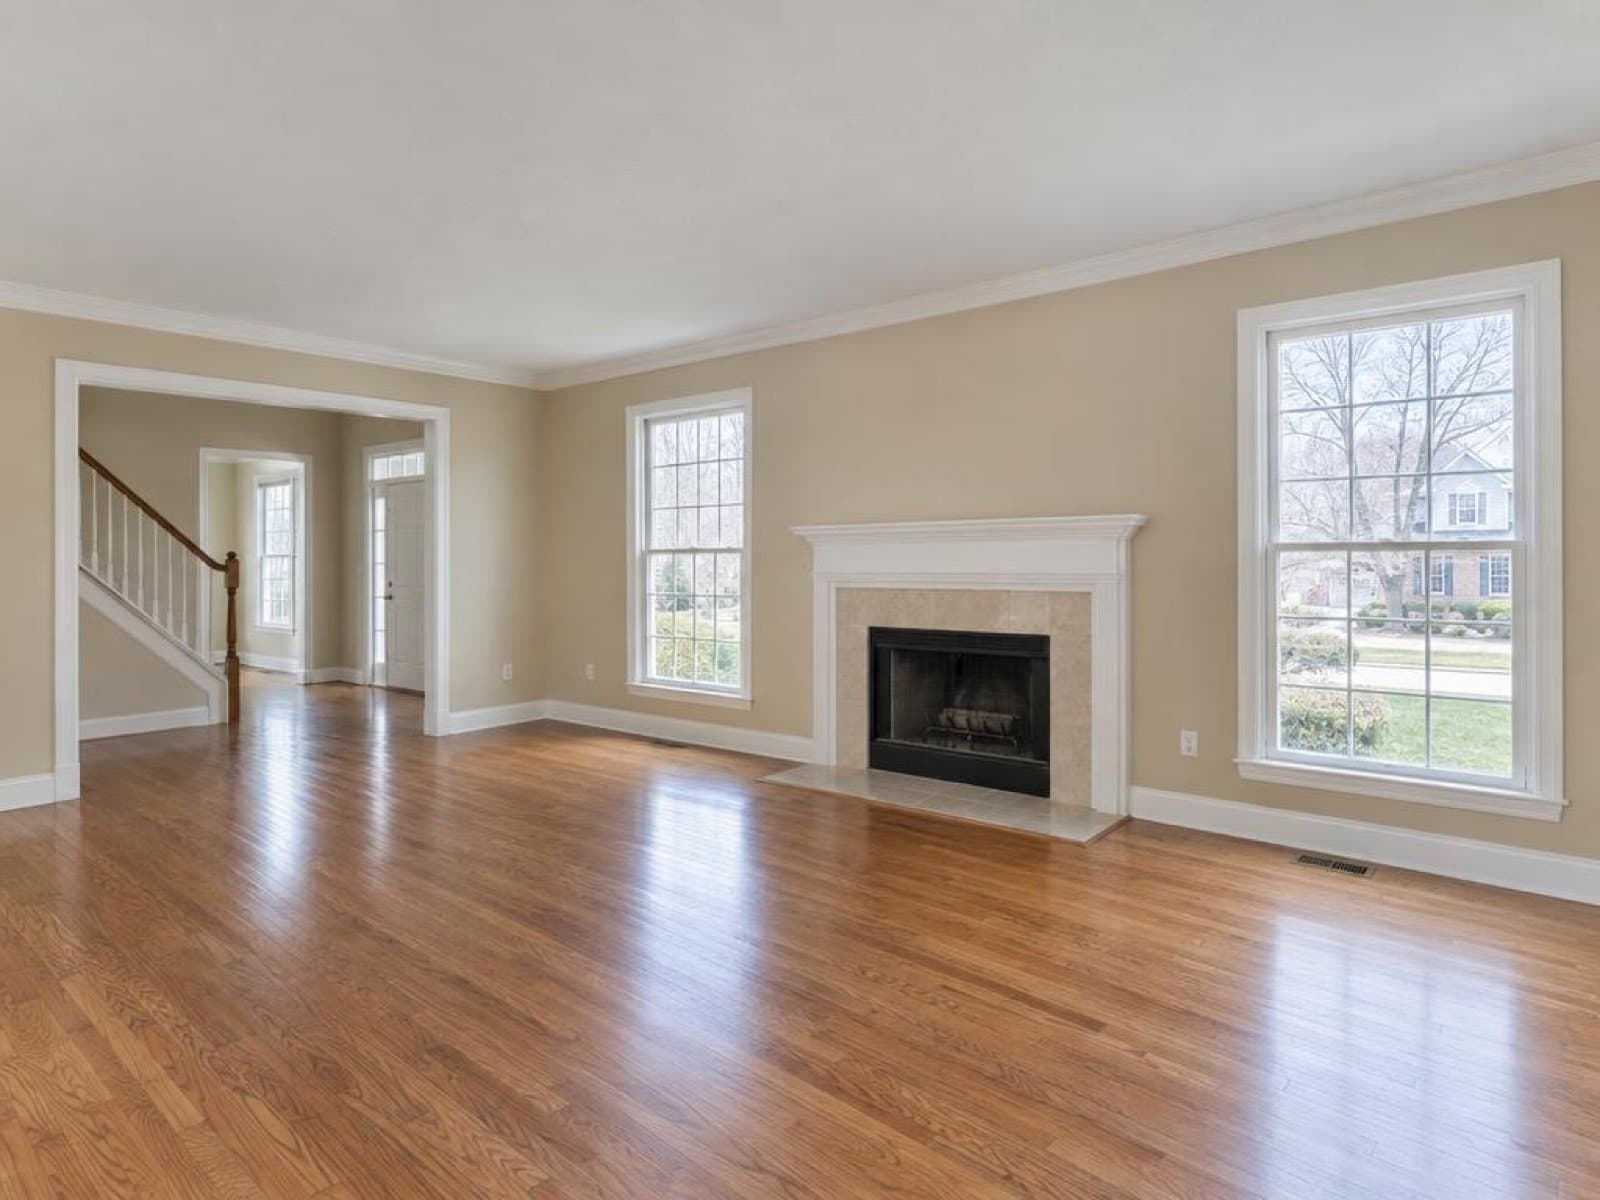
Whichever fix you use, disclose it the way your portal or MLS asks. A short caption like "Virtually staged" or "Sky enhanced" is the common practice; our disclosure guide covers the rules by country and board. For the tools themselves, see Sky Fix, Remove Clutter and virtual staging, and the full pricing for every tool.
Questions people ask
What are the best iPhone settings for real estate photos?
Turn the grid on (Settings > Camera > Grid), leave HDR on, switch Live Photos off, and shoot on the 1x lens for most rooms. Use the 0.5x ultra-wide, available on iPhone 11 and later, only in small rooms where 1x can't fit the whole space.
Should I use the ultra-wide (0.5x) lens for every room?
No. Ultra-wide stretches anything near the edge of the frame and makes rooms look bigger than they are, which buyers notice on the walkthrough. Save it for genuinely tight spaces like a small bathroom, and keep the subject centred.
Do I need a tripod to shoot real estate photos on an iPhone?
A small tripod is the one upgrade worth making. It keeps every shot level and at the same chest-height eyeline, which is what makes a set of listing photos look consistent instead of like a stack of snapshots.
How do I fix a grey sky, clutter or an empty room in an iPhone photo?
Those three are the shots a phone struggles with most. Sky Fix replaces a flat sky in about a minute ($1.04–$1.20 a photo), Remove Clutter clears stray objects ($1.04–$1.20 a photo), and virtual staging furnishes an empty room ($2.08–$2.40 a photo).
Do I need to disclose an edited iPhone listing photo?
Yes, the same as any edited photo. Most portals and MLS boards ask for a short label like "Virtually staged" or "Sky enhanced." Rules differ by country and board, so check yours.

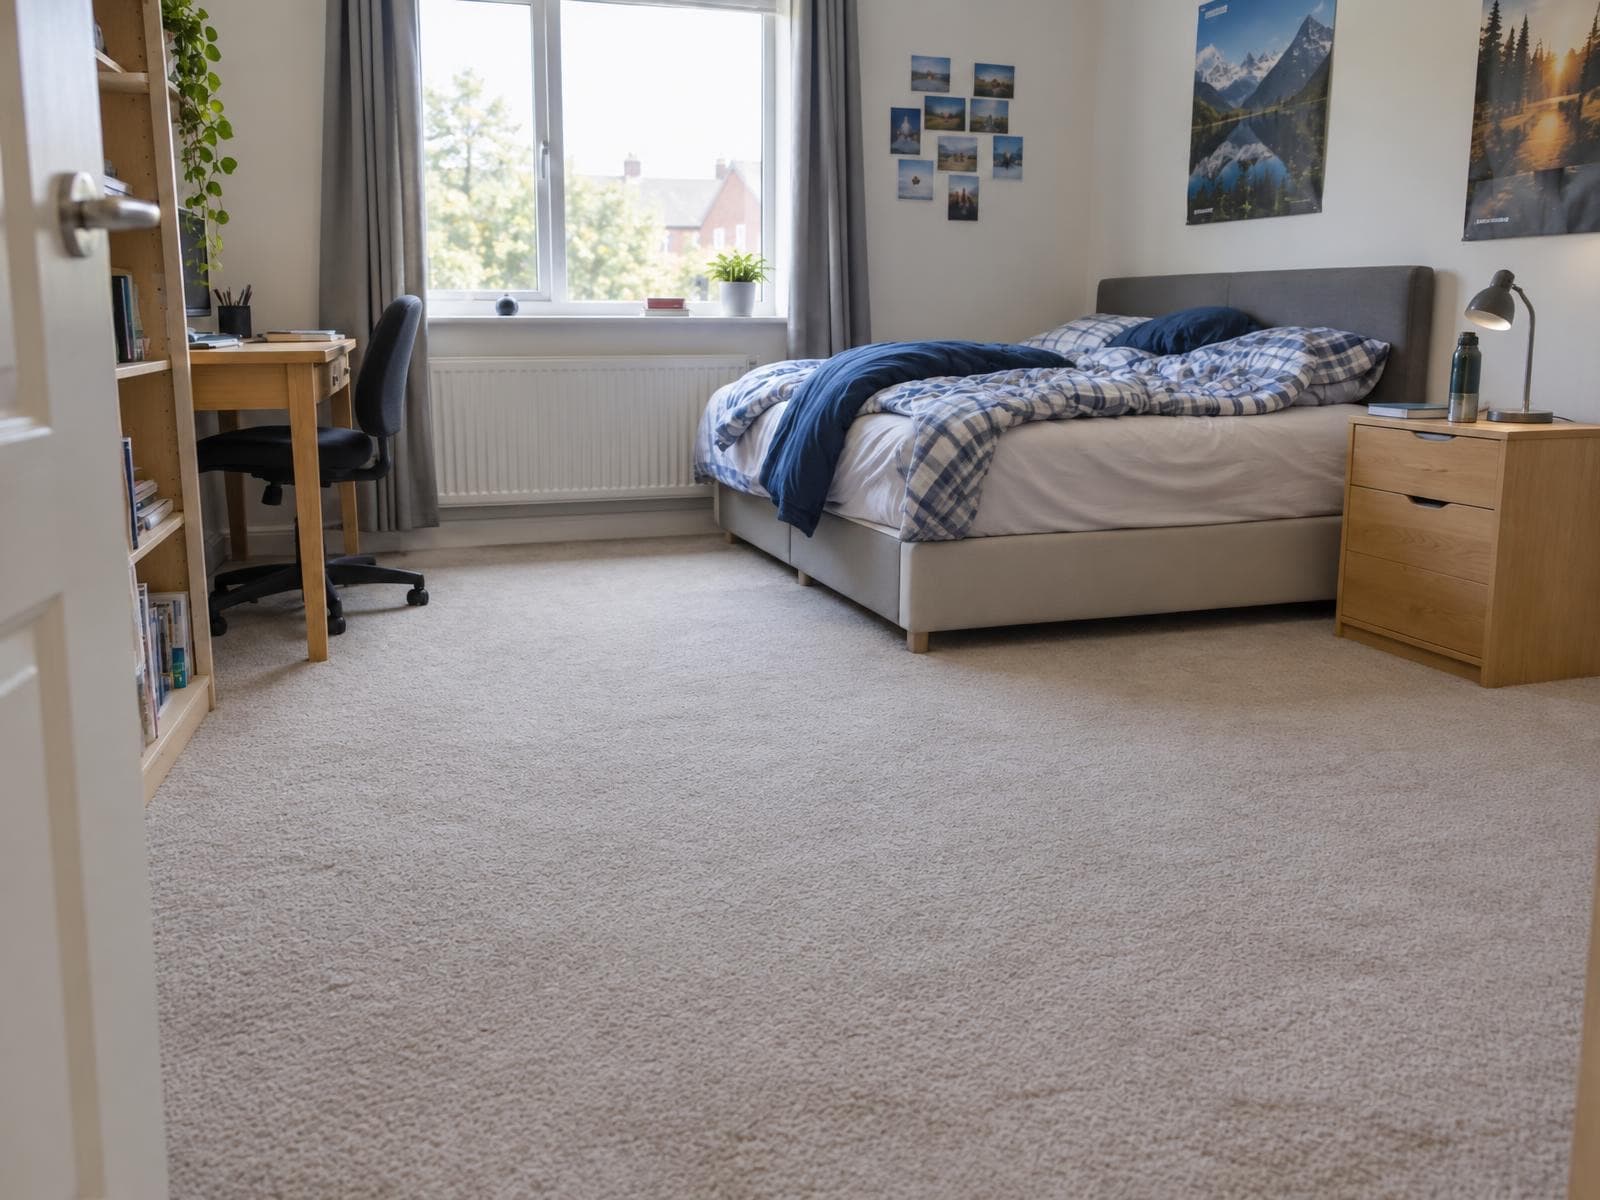
Fix the shots your phone can't
Grey sky, clutter or an empty room: upload the photo and get it fixed in about a minute.
4 free credits · no credit card