Photography guide
Twilight real estate photography: timing, settings and the shortcut
The dusk exterior is the photo that stops people scrolling. Here's how to shoot one properly, and how to get the same look from a daytime photo when an evening shoot isn't on the cards.
By the Stagey team · Updated 28 September 2026 · 8 min read
Why twilight photos work
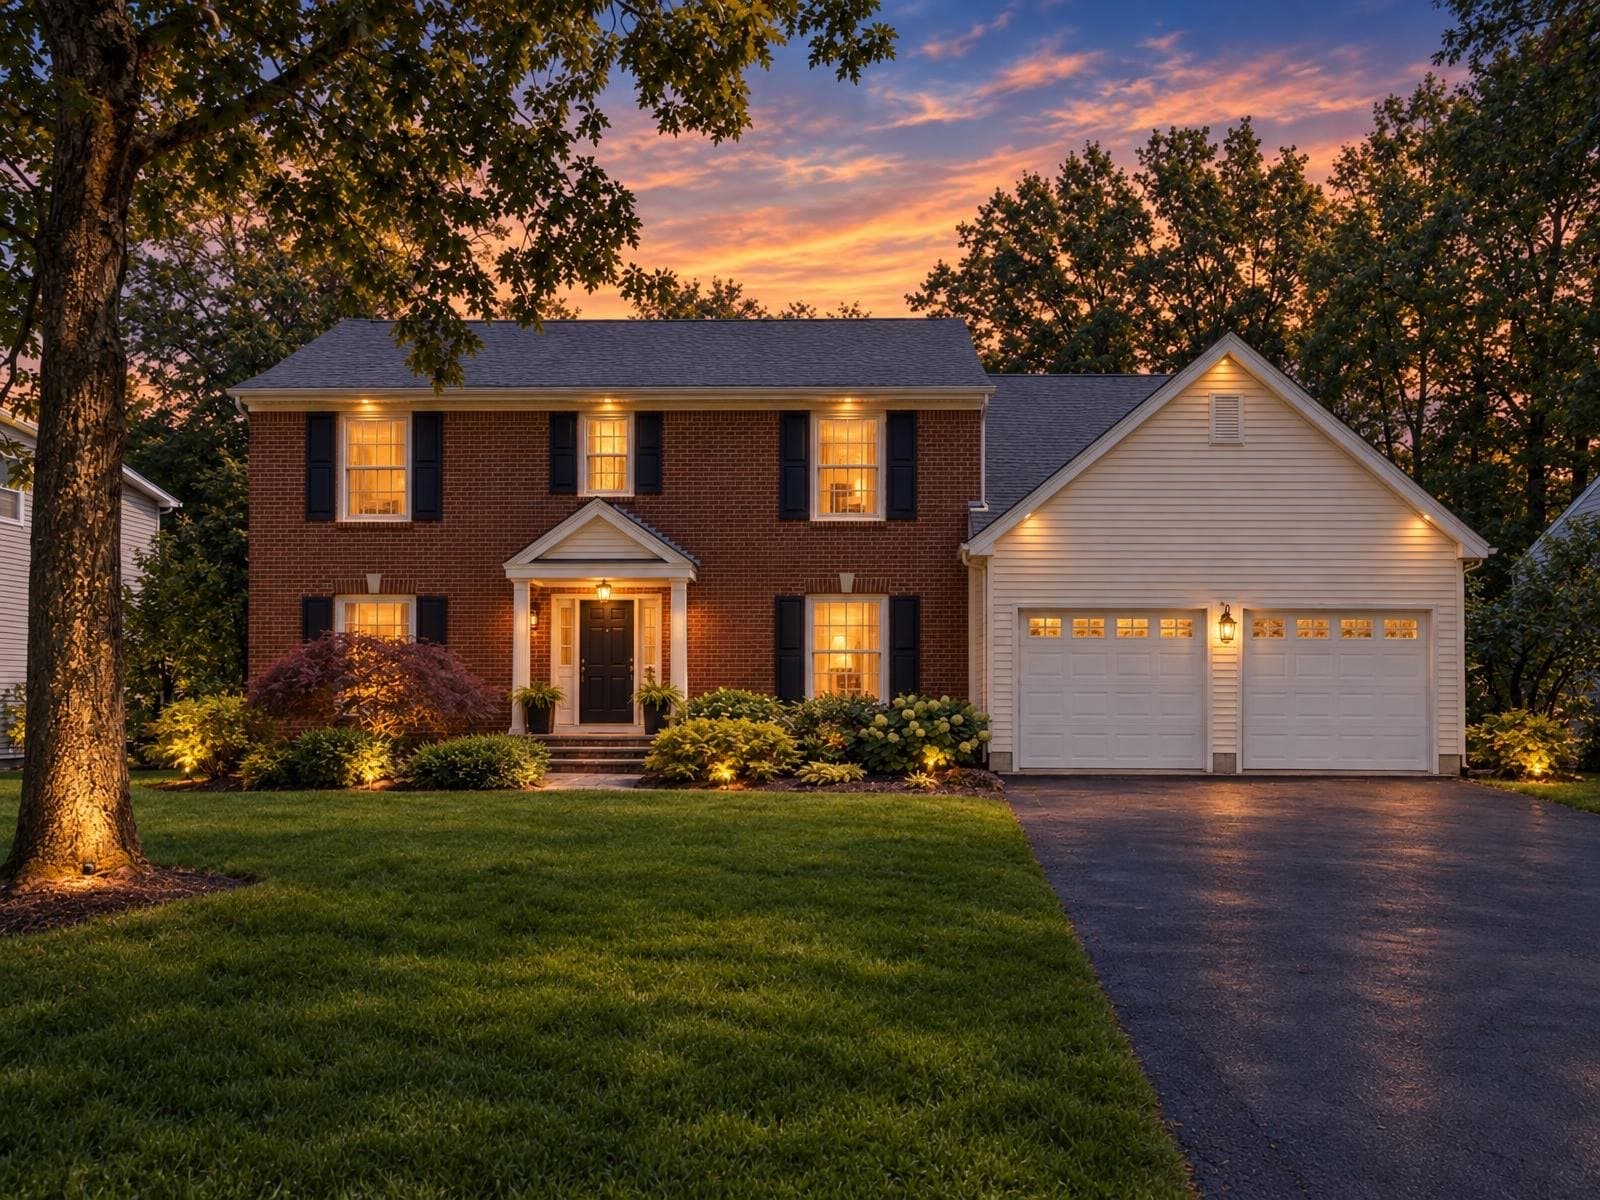
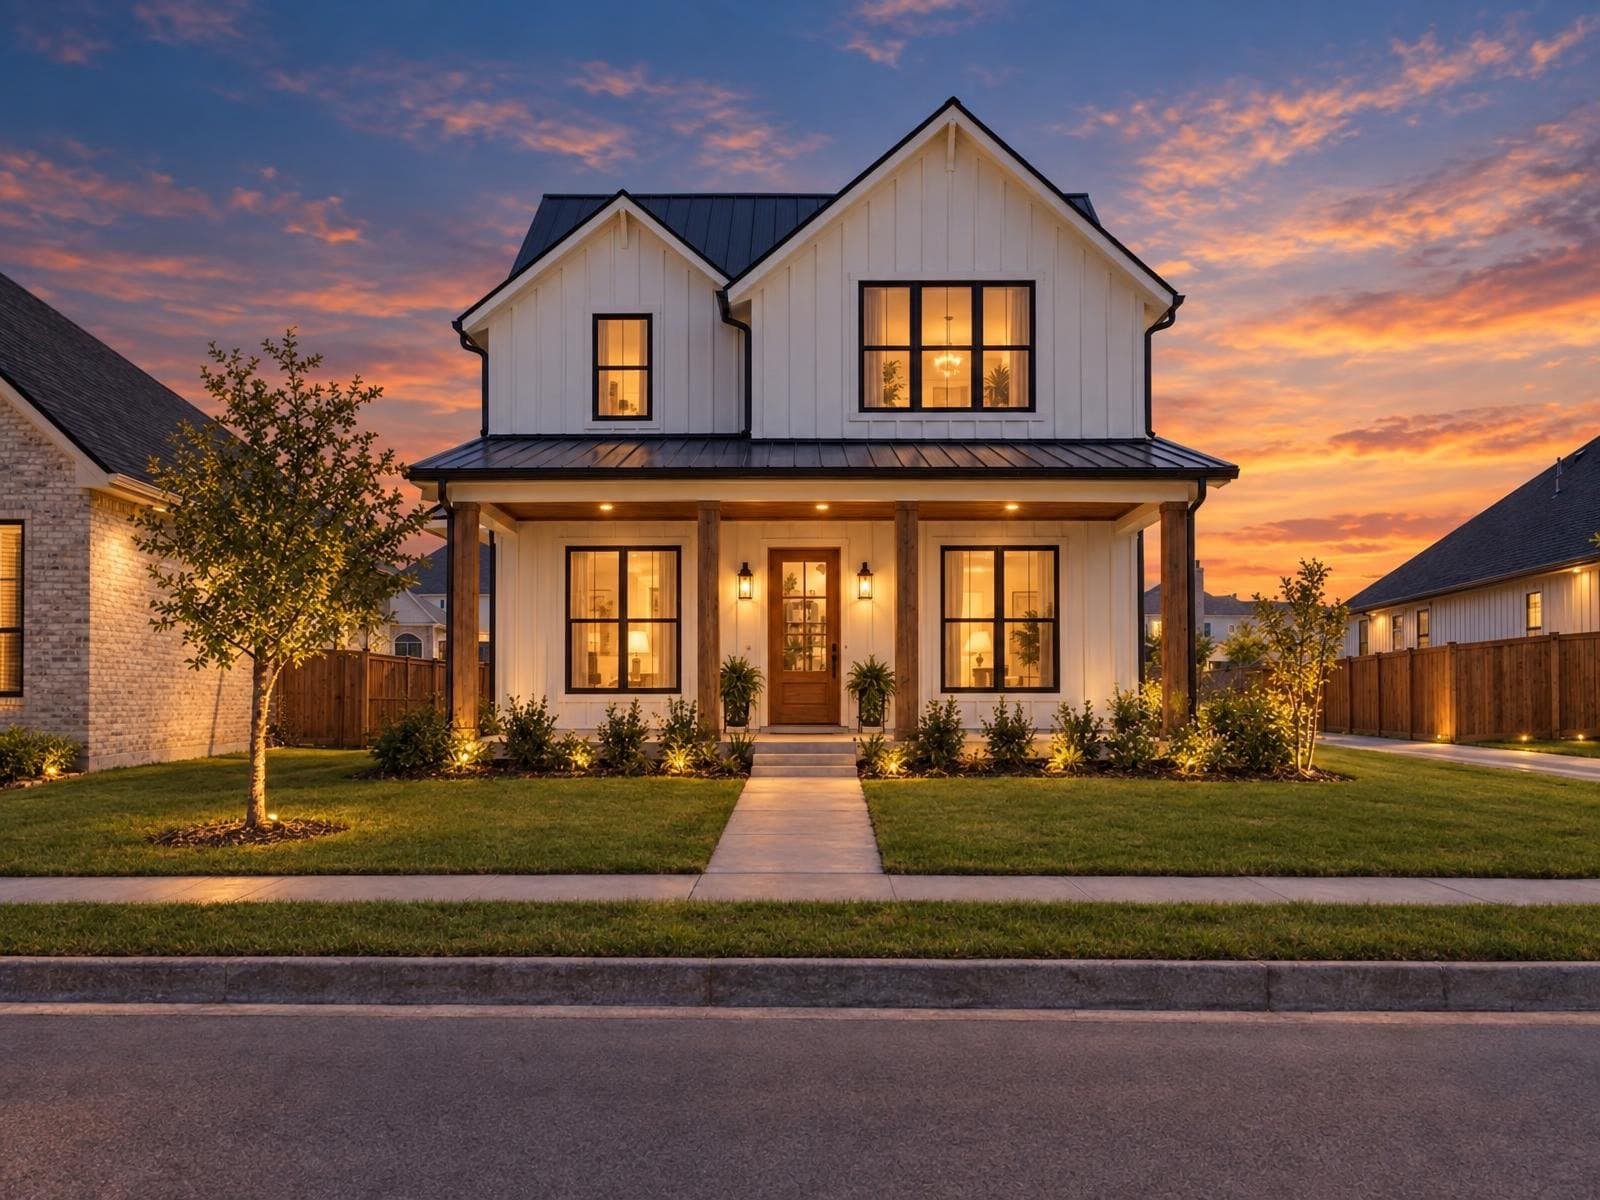
A daytime exterior shows a building. A twilight exterior shows a home: warm light in every window, a lit path, a sky with some drama. On a portal full of flat daytime fronts, that contrast is what makes a thumbnail stand out, which is why agents use a dusk shot as the lead image for their best listings.
It also hides some of what daytime light exposes, like a tired lawn or a grey sky, and it tells buyers the house has good exterior lighting without having to say so.
When to shoot: the blue-hour window
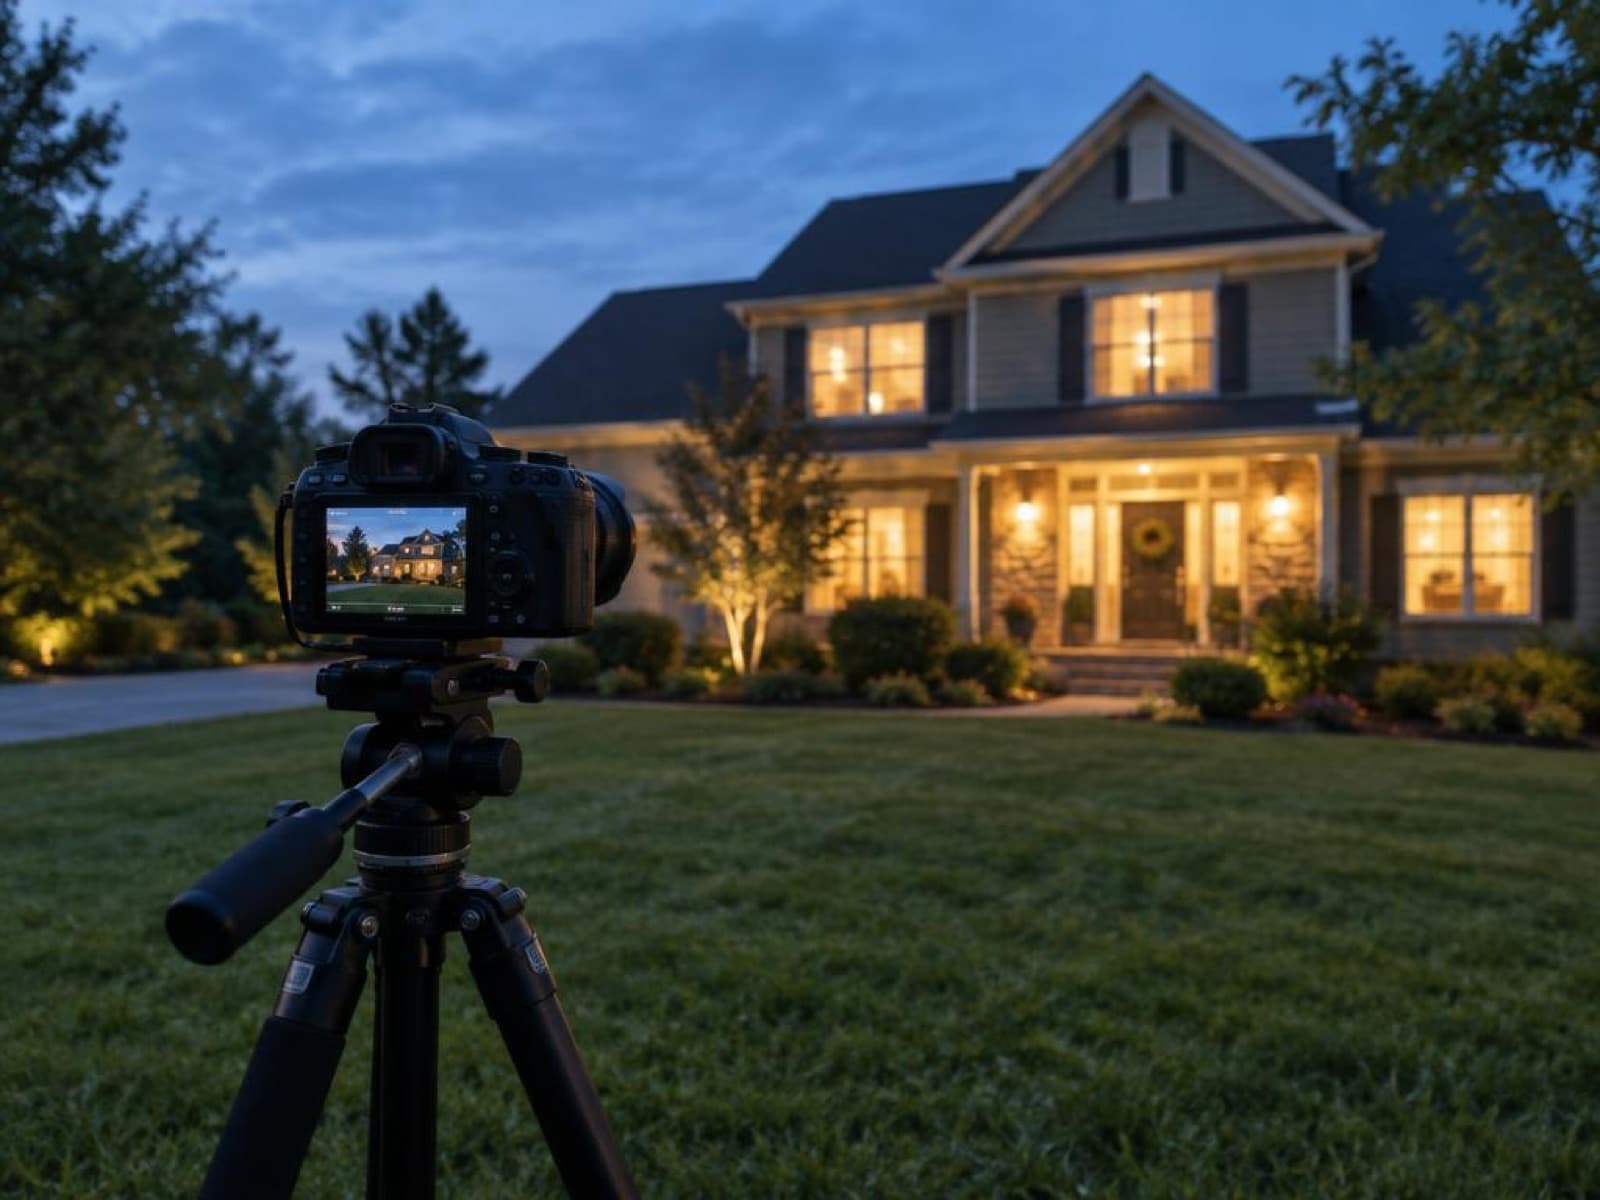
Twilight photos aren't taken at sunset. They're taken after it, once the direct sun is gone and the sky turns an even deep blue that balances with the warm interior lights. The window is short, so plan backwards from your local sunset time.
| Time | What the sky does | What you do |
|---|---|---|
| −30 min | Still daylight | Set up the tripod, compose, switch on every light |
| 0 to +15 min | Warm glow, sky still bright | Test exposures; the lights look weak against the sky |
| +15 to +40 min | Deep blue, balanced with the lights | The money window: bracket every few minutes |
| +40 min onwards | Sky goes dark and loses detail | Stop, or keep only close-up details |
Typical for mid-latitudes. Closer to the poles the window gets longer and later in summer and shorter in winter.
Gear and camera settings
You don't need a special camera, but you do need a tripod. Exposures run from a fraction of a second to several seconds, and every frame has to line up for blending.
| Setting | Starting point | Why |
|---|---|---|
| Support | Tripod + remote or 2-second timer | Long exposures, and every bracket must align |
| ISO | 100–400 | Clean shadows in the sky and on the facade |
| Aperture | f/8–f/11 | Sharp from the front lawn to the roofline |
| Exposure | Bracket 3–5 shots, 2 stops apart | Keeps detail in the bright windows and the dark garden |
| White balance | Daylight, fix it later | Warm windows against a blue sky is the look you want |
| Lens | Wide, but not ultra-wide | Straight verticals; avoid stretched corners |
A shot plan for the evening
With one short window, decide the order of shots before you arrive. The front hero comes first; everything else is a bonus.
- 1
Arrive before sunset and frame in daylight
Pick the hero angle, level the tripod and check the verticals while you can still see. - 2
Switch on every light and open the blinds
Interior lights, porch, garden and pool lights. Unlit windows read as an empty or dark house.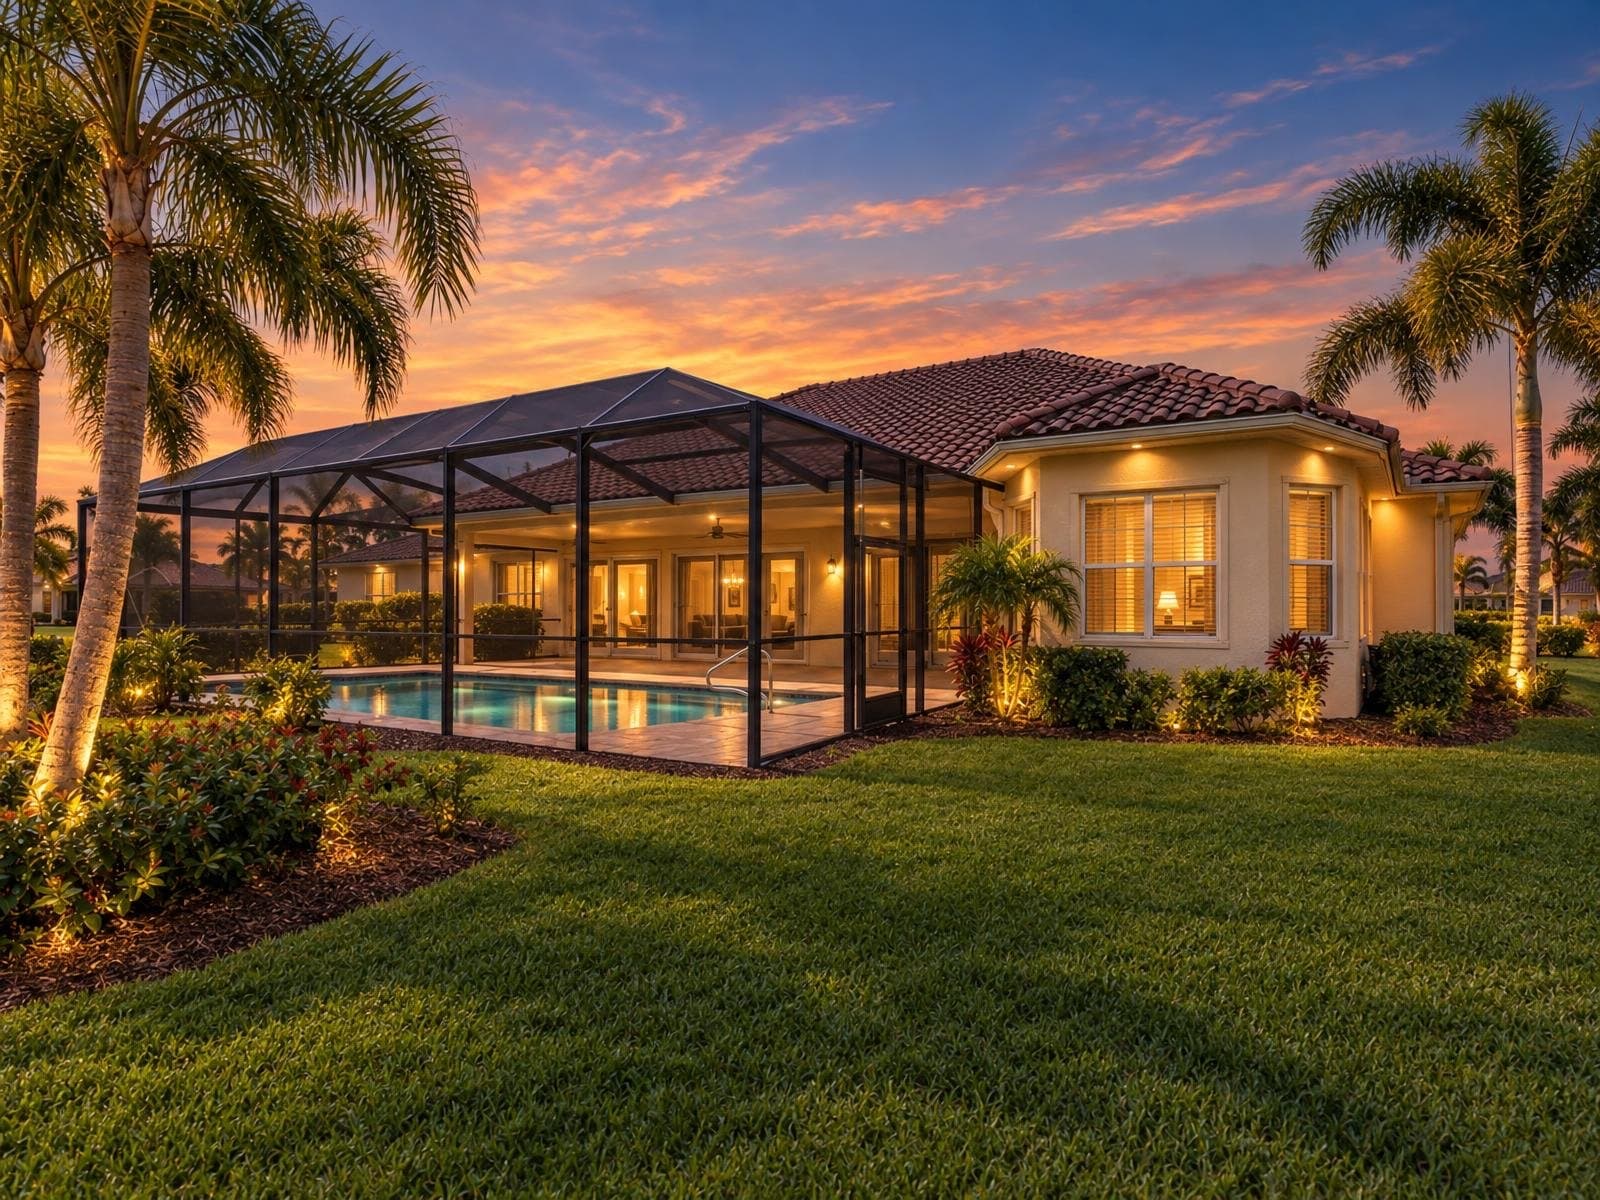
- 3
Shoot the front hero in the blue-hour window
Bracket every few minutes as the sky darkens, so you can choose the best balance later. - 4
Blend, straighten and balance the colour
Blend the brackets, fix the verticals, and keep the lights warm without turning the sky purple.
Getting the dusk shot from a daytime photo
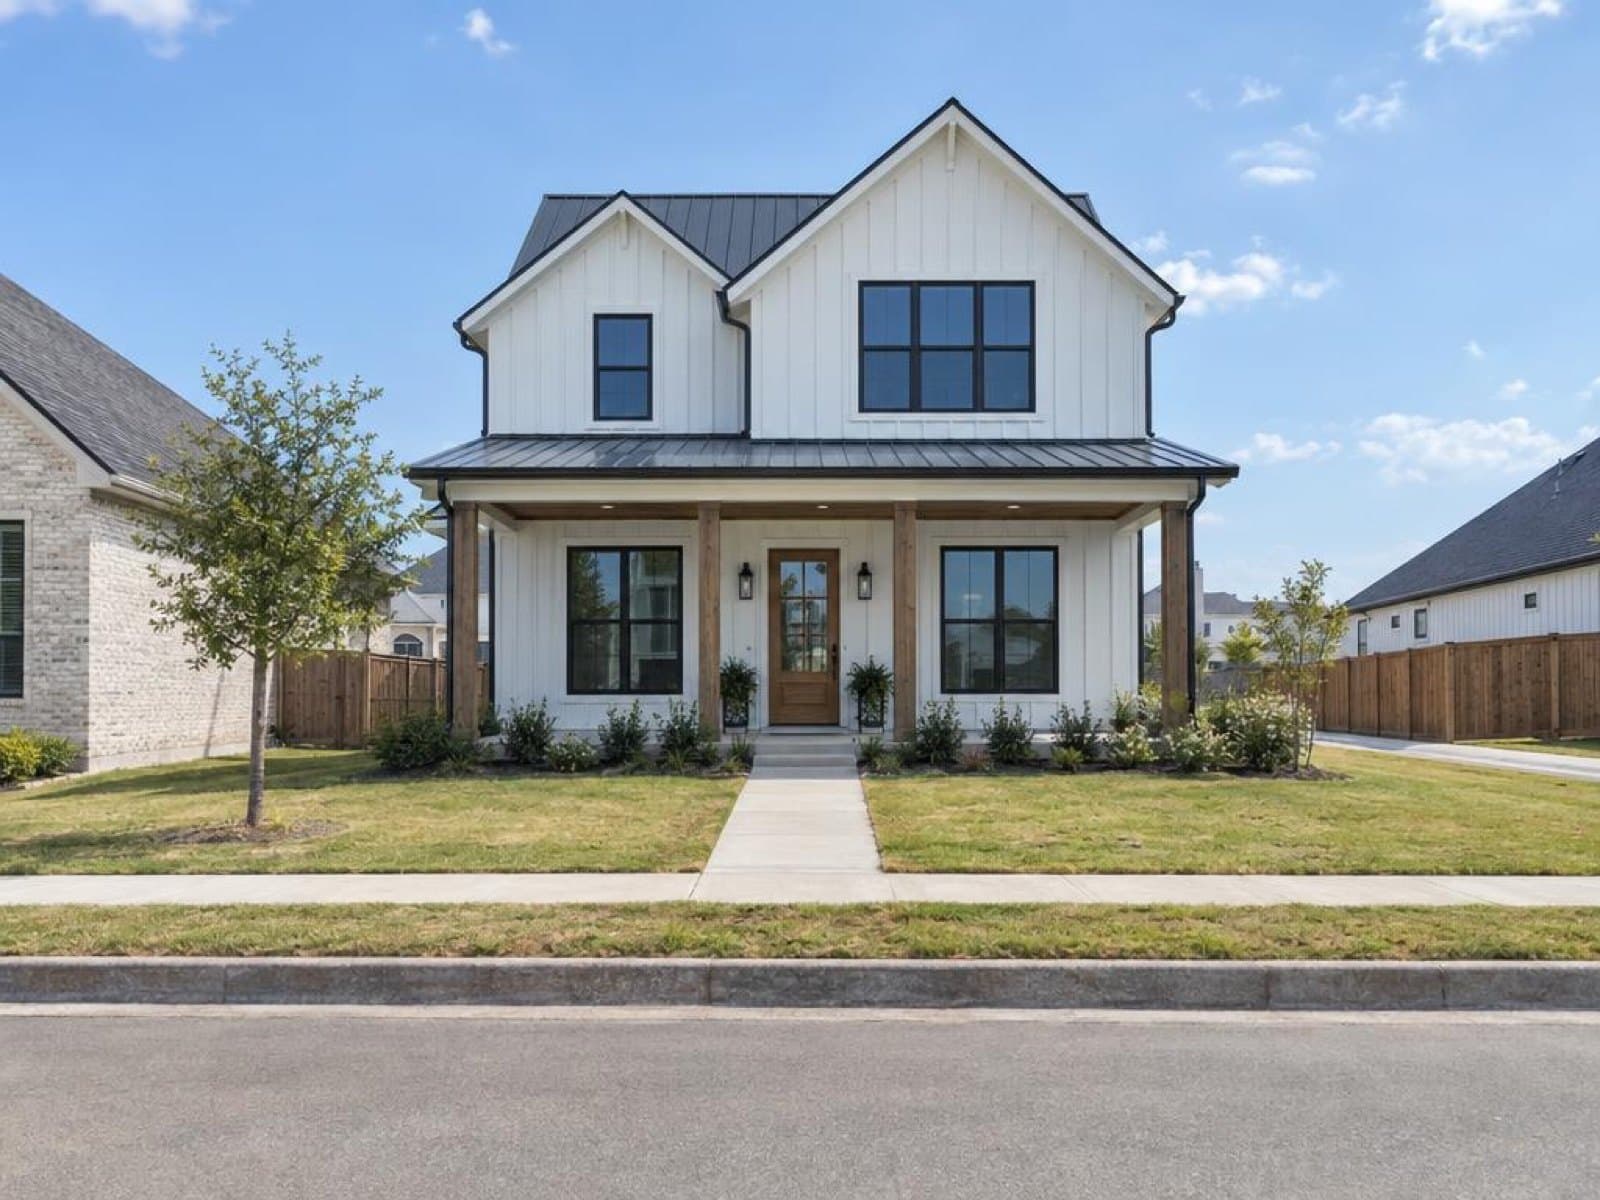
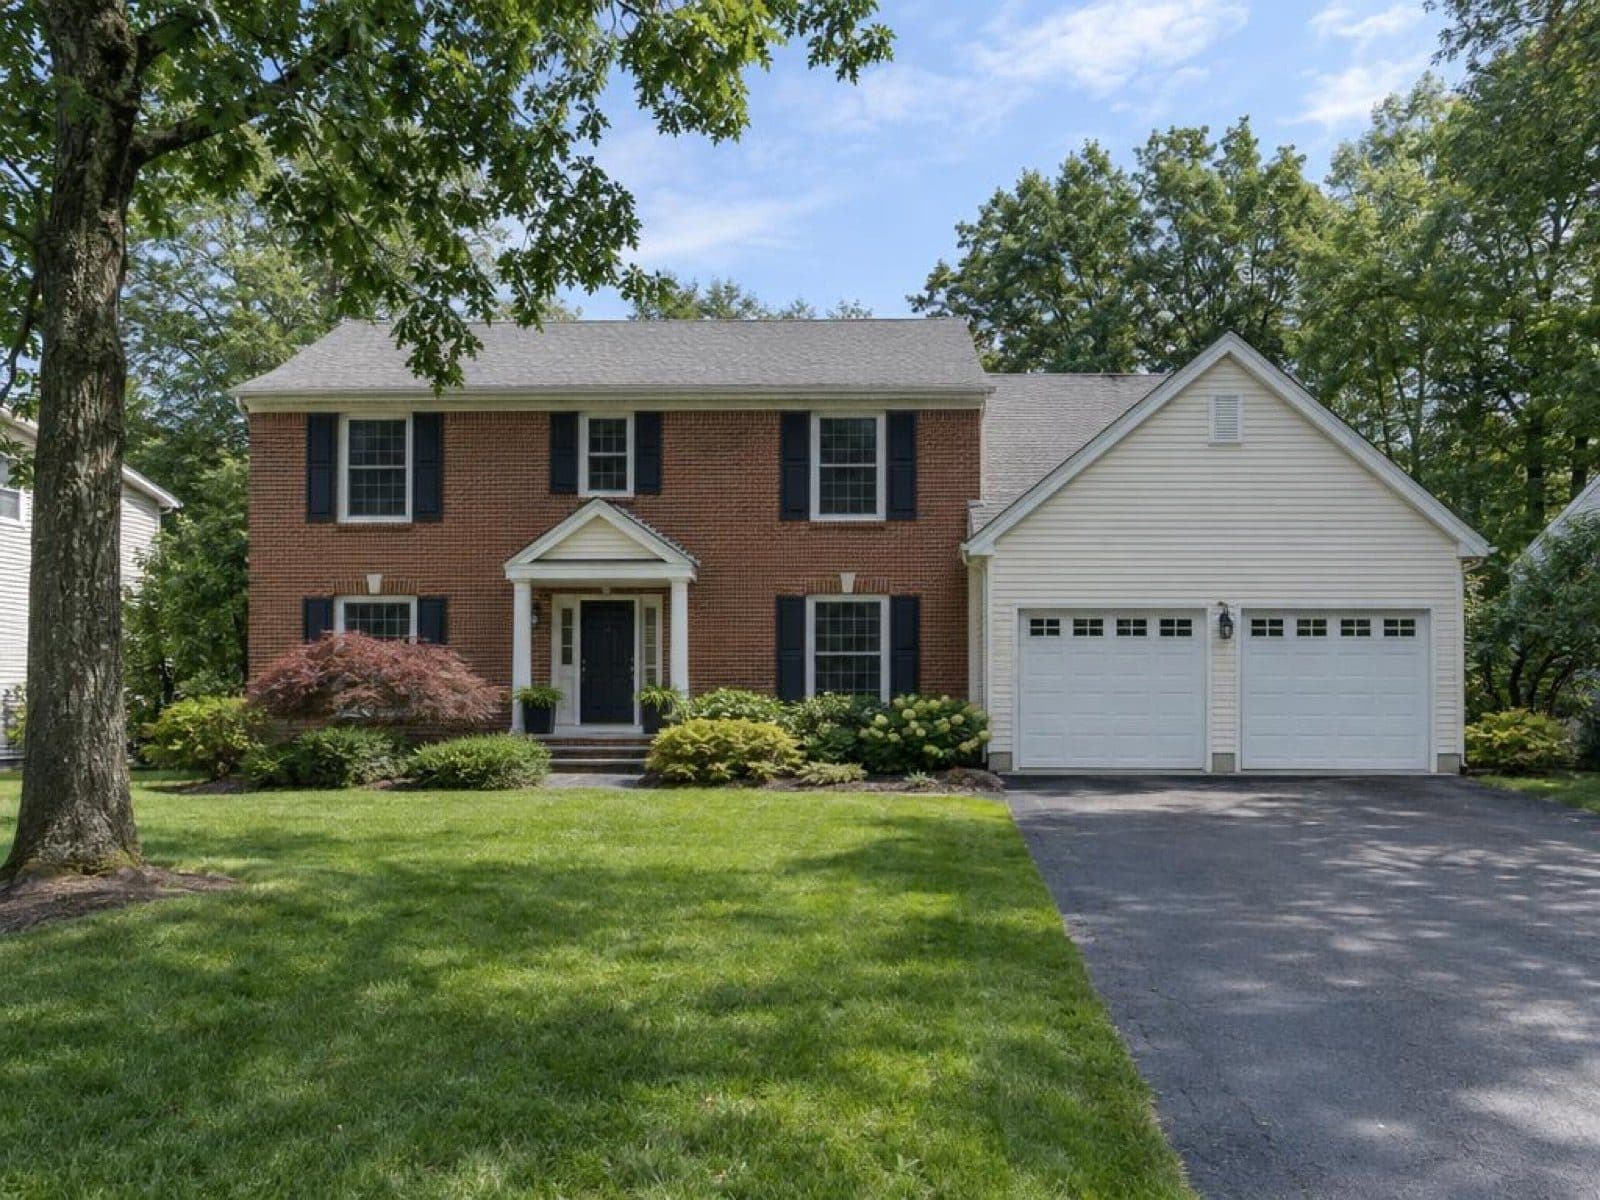
An evening shoot needs good weather, a second visit and someone free at the right minute. The alternative is to edit a daytime photo into a twilight one. Editing studios do this by hand; Stagey's Day to Dusk does it in about a minute: it replaces the sky, switches on the interior and exterior lights and relights the whole scene, without changing the property.
Evening shoot, editor or AI?
All three routes end with a dusk hero photo. They differ in what they cost you in time, money and dependence on the weather. A real evening shoot still wins for a flagship listing with a big lighting design. For most listings, one of the edit routes gets you there.
| Feature | Evening shoot | Editing studio | Stagey Day to Dusk |
|---|---|---|---|
| No evening visit needed | |||
| Works whatever the weather | |||
| Turnaround | Same evening, then editing | Usually a day or more | About a minute |
| Typical price per photo | An extra visit | e.g. 80 NOK (Pholio, Norway) | $1.04–$1.20 |
| Try different moods | |||
| Property left unchanged |
Studio price: Pholio's published day-to-night rate, ex VAT. Stagey: pay-as-you-go pack prices, 1 credit per photo.
Whichever route you take, label the photo the way your portal asks. A short "Twilight enhanced" caption is the common practice. Our disclosure guide covers the rules by country and MLS, and the Day to Dusk page shows more examples.
Questions people ask
What time should I take twilight real estate photos?
Start setting up before sunset and shoot from roughly 15 to 40 minutes after it, when the sky turns deep blue but still holds detail. Check your local sunset time for the day: the window moves by season and latitude.
What camera settings do twilight exteriors need?
A tripod, ISO 100 to 400, an aperture around f/8 to f/11 for sharpness front to back, and bracketed exposures (for example three to five shots two stops apart) so you can keep detail in both the sky and the lit windows.
Can I get a twilight photo without shooting at dusk?
Yes. Day to Dusk turns a daytime exterior into a twilight shot: it replaces the sky, switches on interior and exterior lights and relights the scene. It takes about a minute and costs 1 credit per photo.
Do I need to disclose an AI twilight photo in a listing?
The property must look as it is, and most portals and MLS boards ask you to label enhanced photos. A short caption like "Twilight enhanced" is the common practice. Rules differ by country and board, so check yours.
Is twilight photography worth it for every listing?
It pays off most as the hero image for homes with good exterior lighting, big windows, a garden or water. For a flat facade with few windows, a clean daytime exterior with a good sky often works better.
Keep reading
Skip the evening shoot
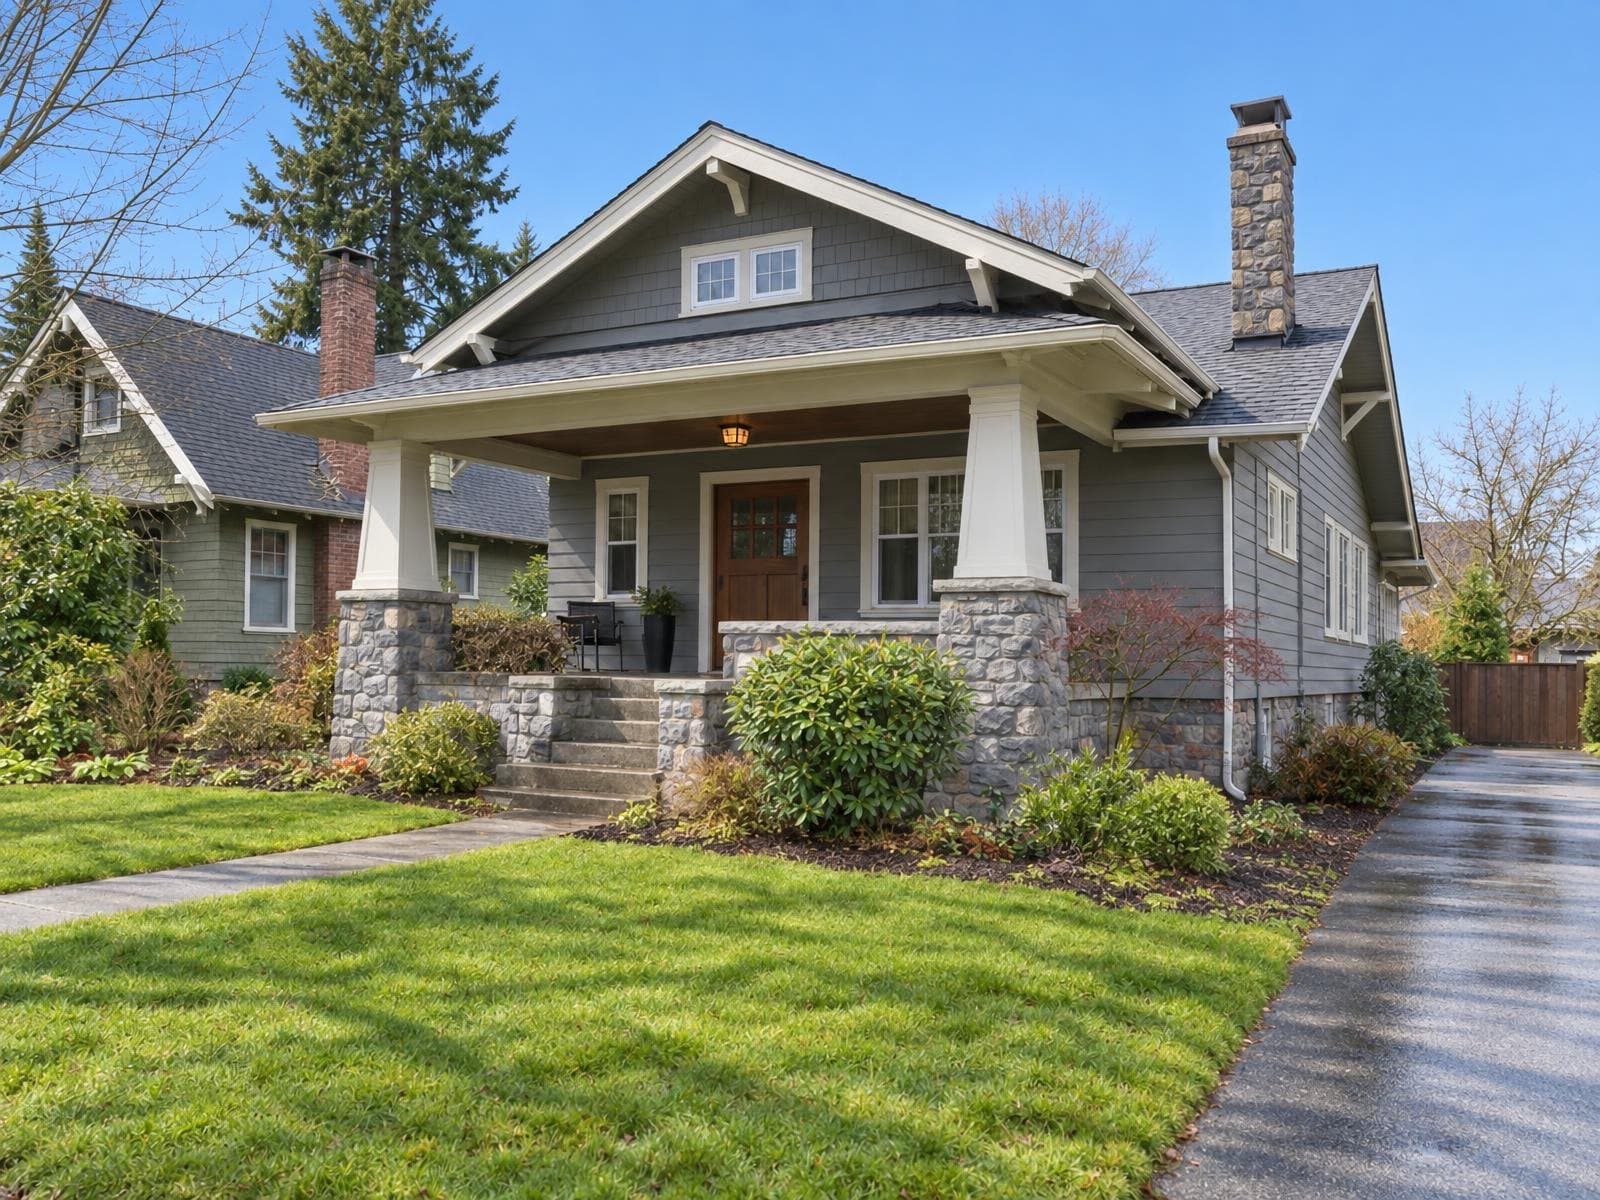
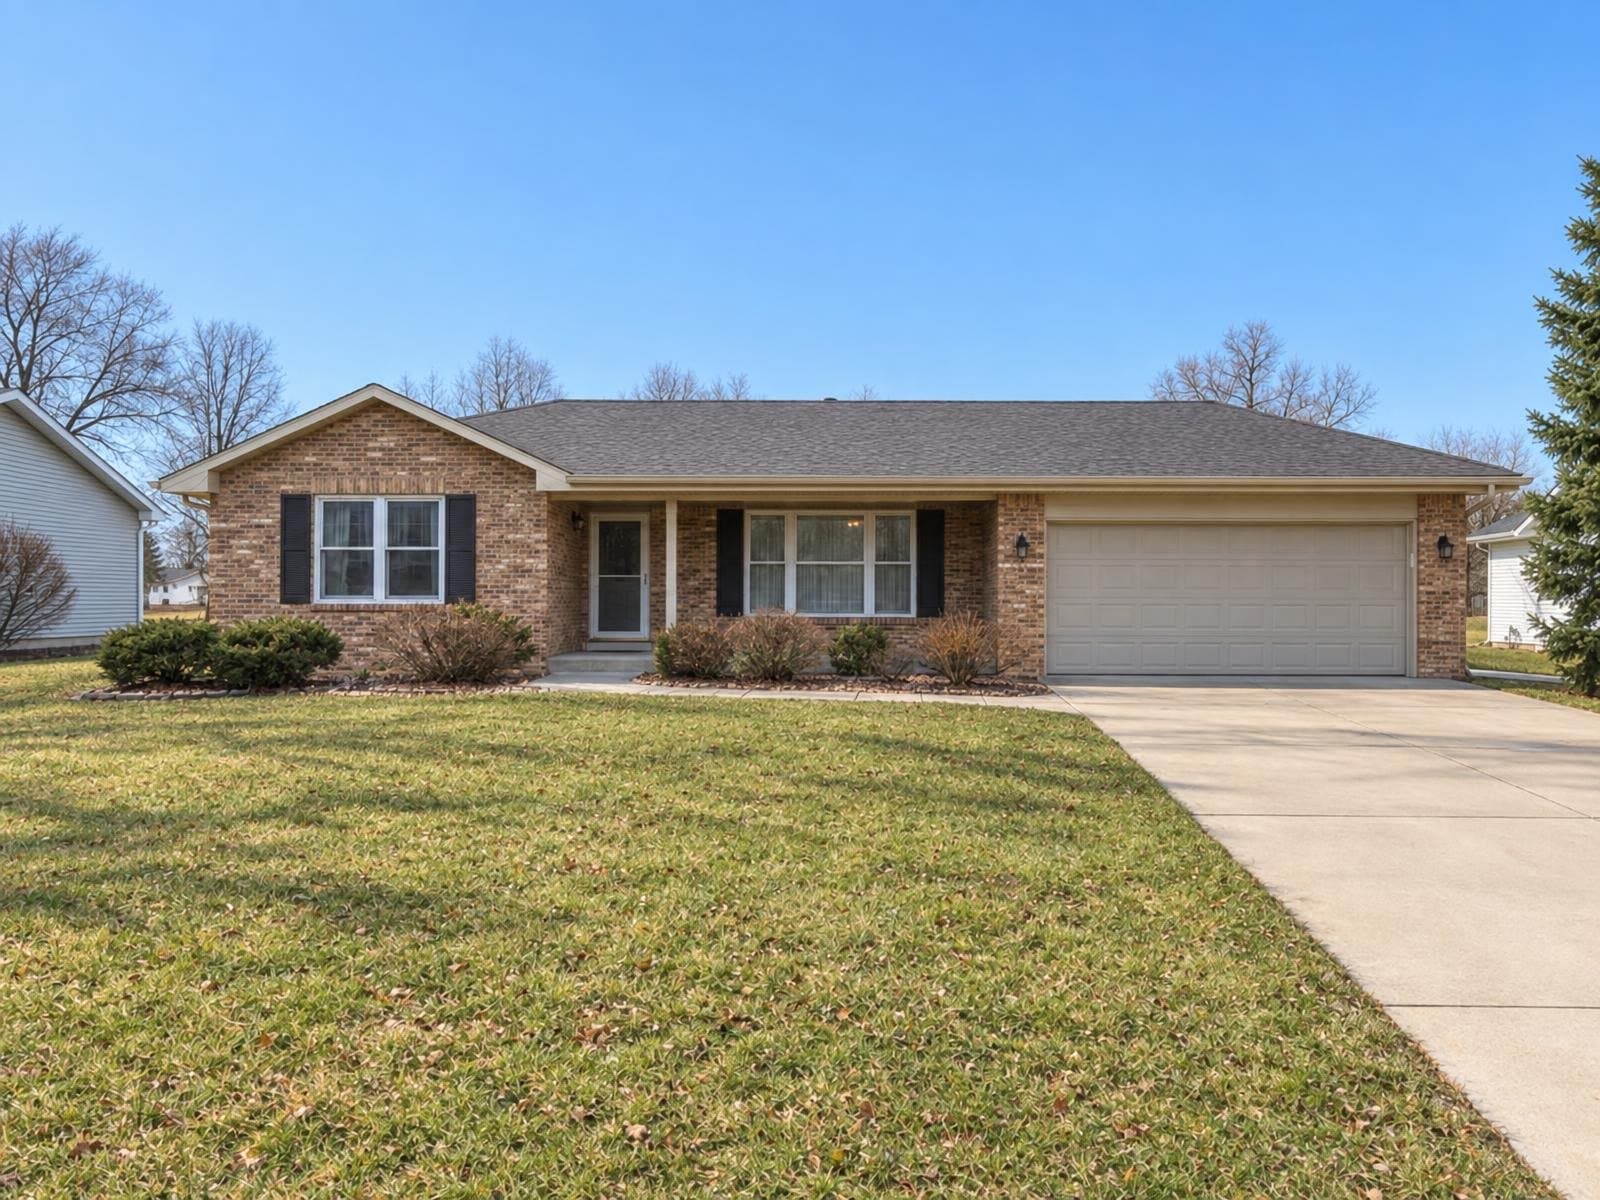
Turn one of your daytime exteriors into a twilight hero and see it in about a minute.
4 free credits · no credit card